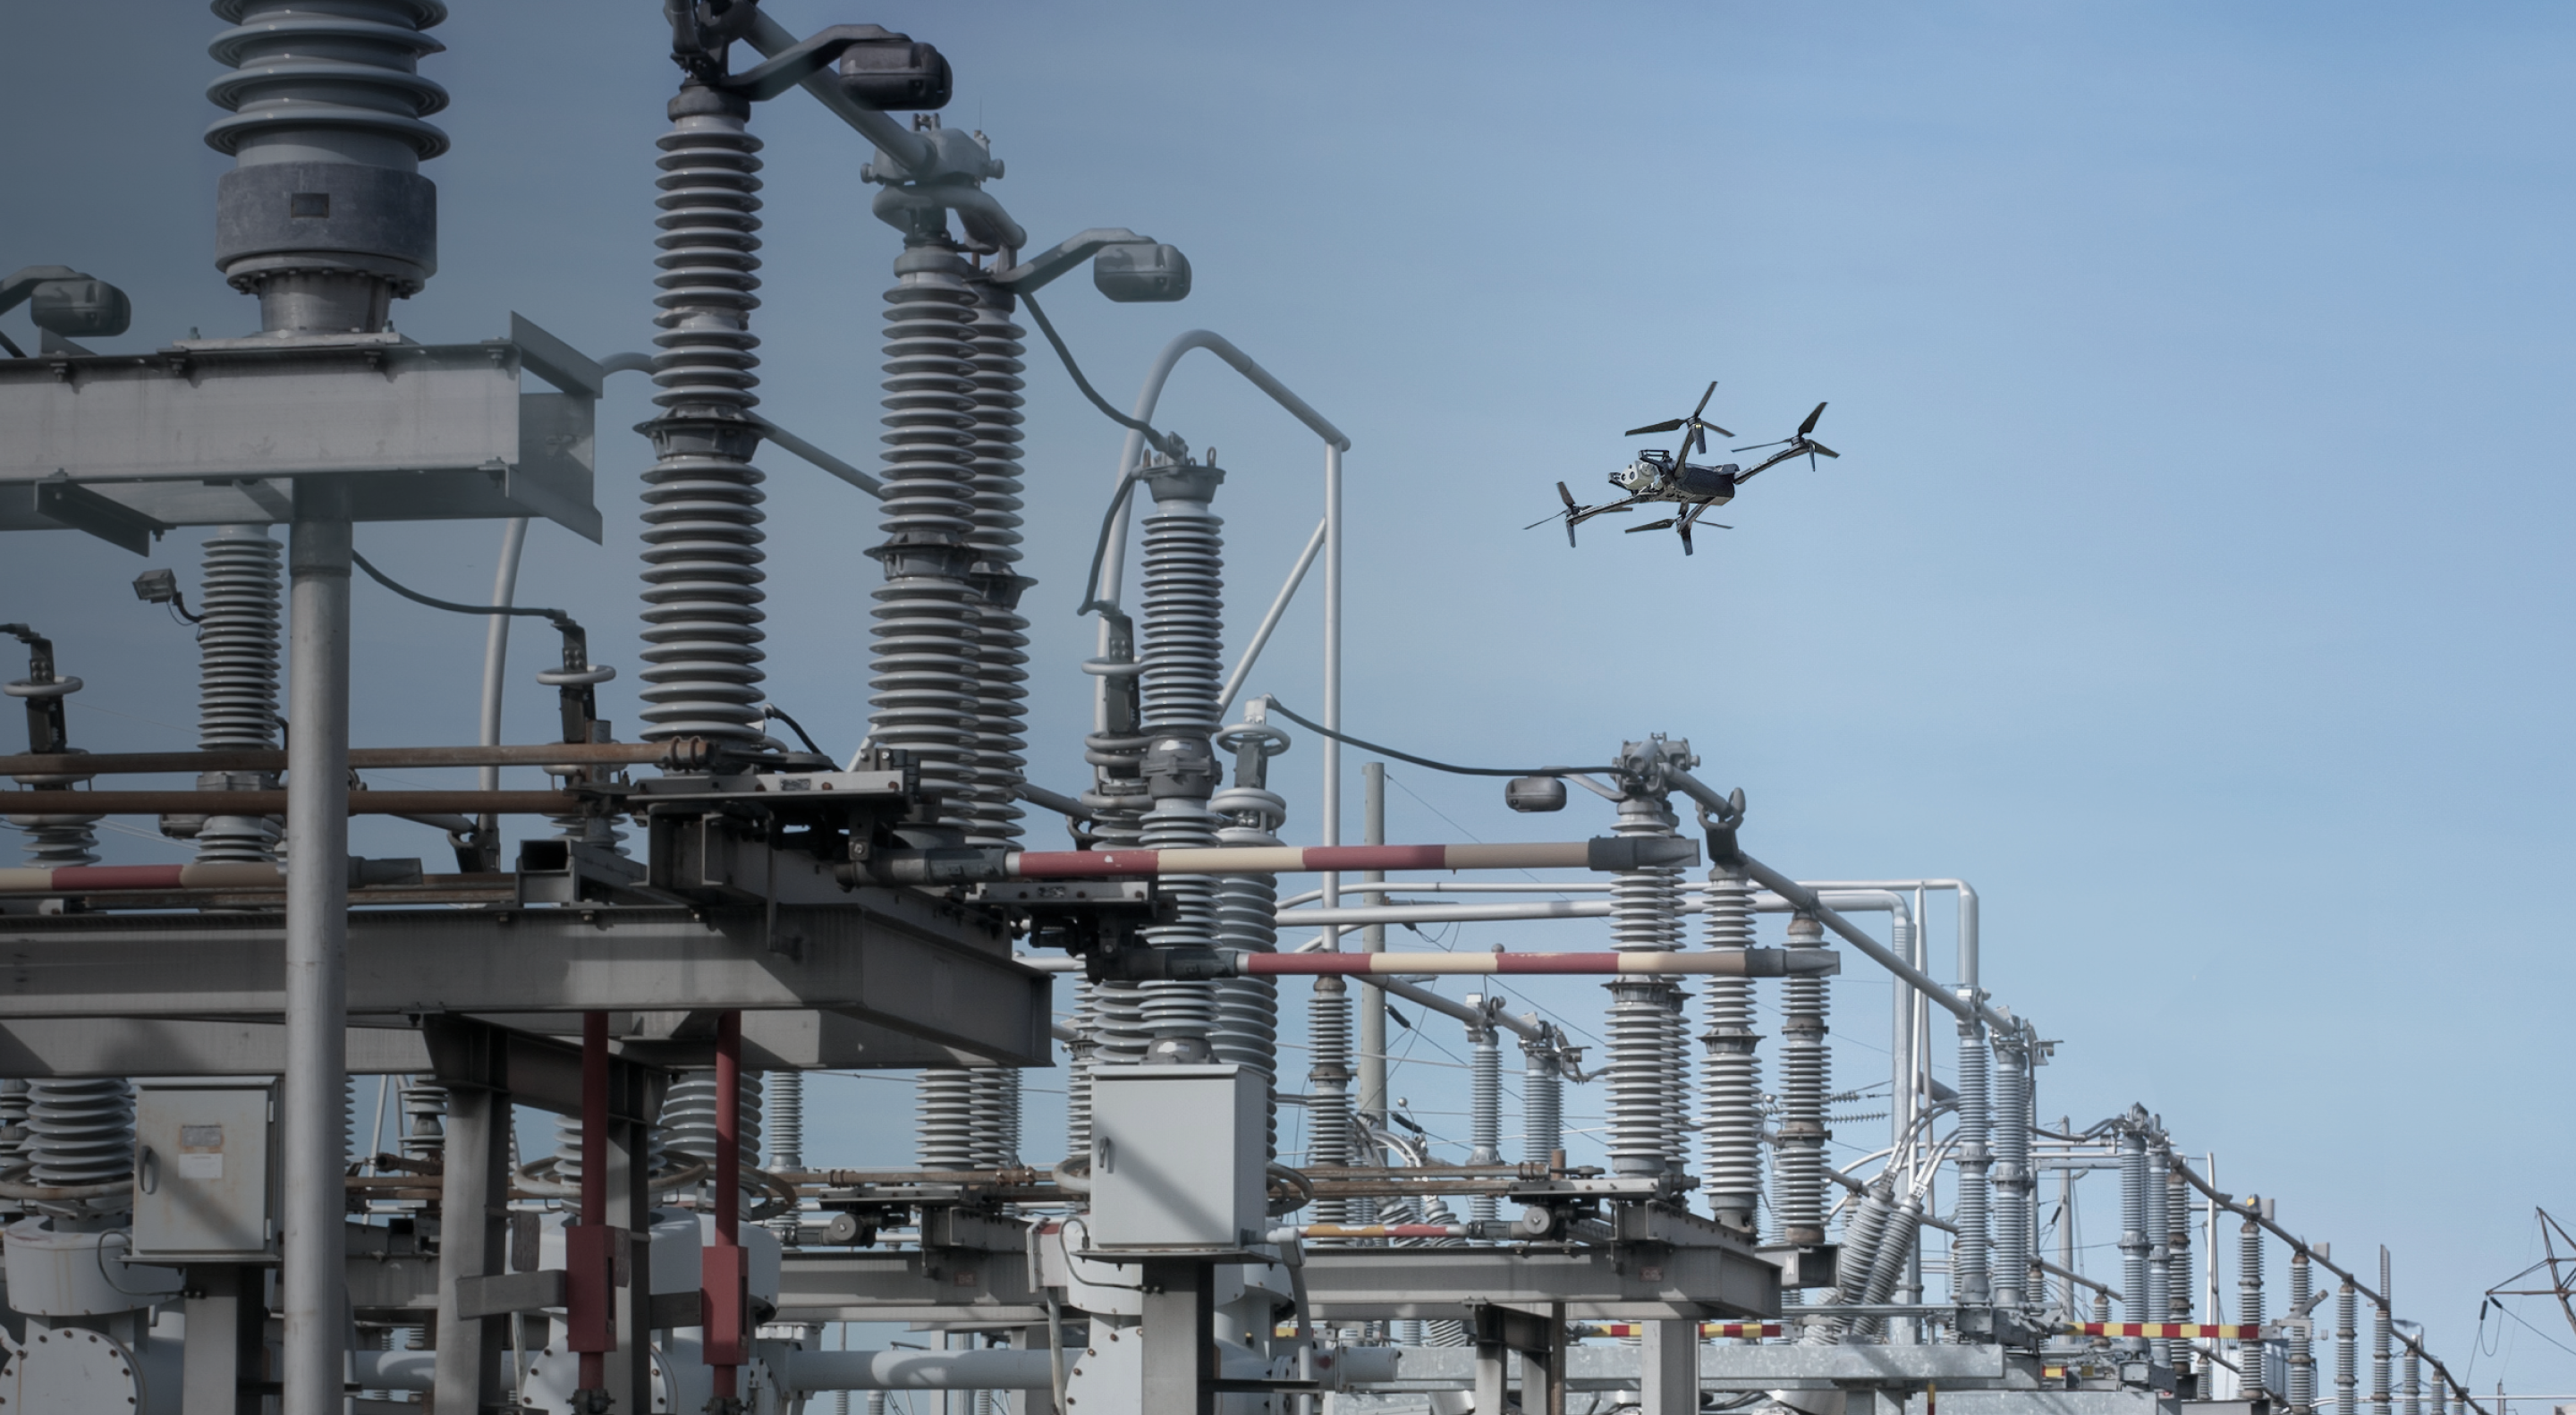
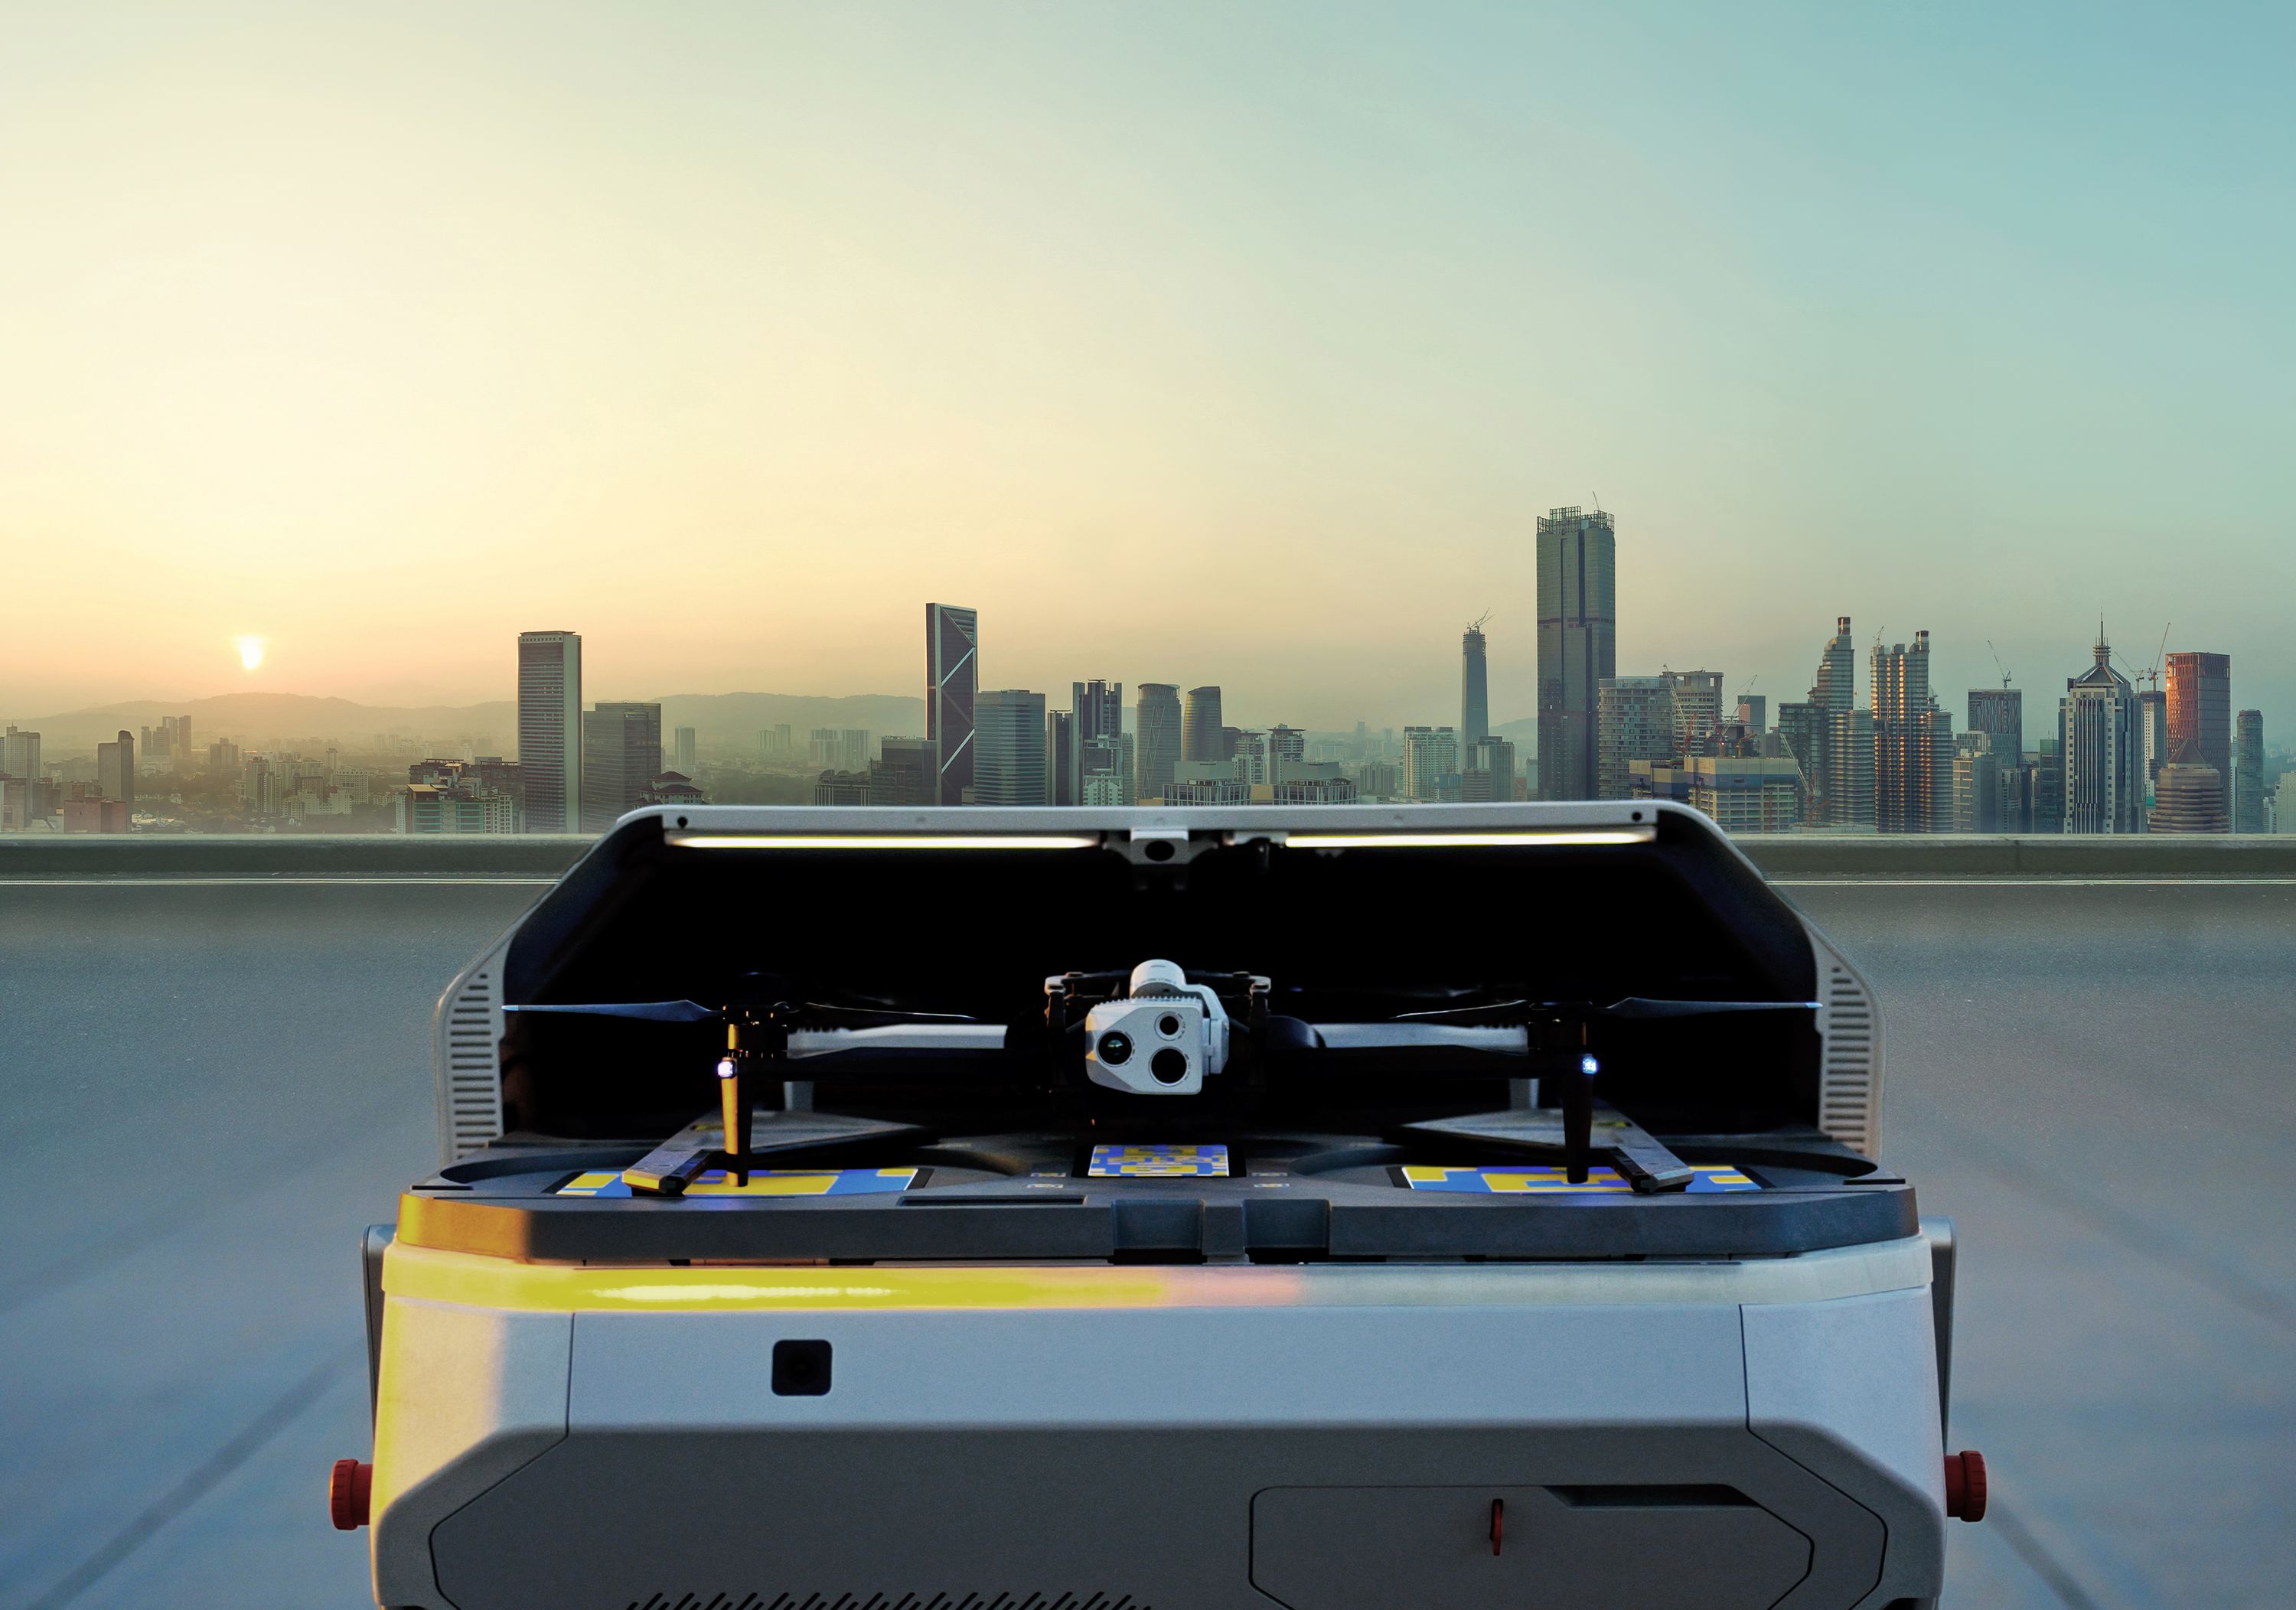
Beyond drone camera specs: Looking past the gimbal and the quality factors to look for
Deep dive into the cutting-edge sensor landscape and key image quality factors shaping today's drone technology. This presentation is a comprehensive exploration of drone camera advancements and delves into the technical nuances and real-world implications of aerial data capture.
We present the findings from Imagtest, a renowned third-party testing organization, which compared image quality factors across top enterprise drones on the market.
Watch to learn:
- Key user insights that shape the development of the most advanced sensors
- Important image quality factors and performance findings from the latest Imatest study
- New applications and capabilities that are now possible from advanced aerial sensors
- Which sensors set the bar in the industry for performance and functionality
Learn more about X10 sensors.
- So hello and welcome to, uh, Beyond the, uh,
- Drones Camera Specs webinar. I'm Jason Tillman, as, uh, Laura noted,
- Product
- Marketing Director here over at Skydio, and I'm joined by Ryad Khan,
- Product, uh, Manager focused on drone cameras
- and sensors, as well as Russell
- Bondy, Senior Image, uh, Image Engineering Manager.
- And today, Ryad will be walking us through the
- different types of cameras found on
- drones, their typical use cases, as well as the ones that we specifically
- chose for our newest drone, the Skydio X10, which just, um, began
- shipping in November. Following this, Russell will be sharing an overview of the
- results from a recent drone camera comparison test, uh, conducted
- by ImaTest, and we'll share the report following the
- webinar, um,
- for those who really wanna kinda dig into those details there.
- And, uh, much like what was referred to earlier,
- throughout the webinar, feel free
- to submit any sort of questions you have, and we'll answer as many of those as we
- can at the end. And with that, I'll hand things over to Ryad to kick
- things
- off.
- Awesome. Thanks for the introduction, Jason.
- Uh, it's great to be here with all of you
- today to discuss something that we're-
- that's very important to all of us, camera systems and image quality.
- Based on what we know about the audience here today, many, if not all of you,
- are knowledgeable about drones, and we love that.
- Looking at camera specs, we can look at everything from a cell
- phone to a DSLR
- camera. The real question is, what are you going to be using it
- for? What are you going to do with your drone?
- What are you looking to capture? Are you capturing wide, expansive
- shots? Uh, do you need precision temperature
- measurements?
- Today, I'm gonna start by going over the use
- cases that we at Skydio have been
- heavily focused on with our customers, among others.
- And what's really important to us is how the cameras in our sensor
- packages perform in the situations that matter most to our
- customers. We ask ourselves, what really matters?
- What combined set of capabilities give our customers what they need?
- So let's go over some typical scenarios or use cases.
- These include inspections and situational awareness.
- In developing X10 and our sensor packages, we've worked
- extensively with customers, partners, and others to
- ensure that the products that we're building meet your everyday
- needs and
- that the sensors and technologies we've built meet the needs of those use
- cases.
- So typically, for inspection missions, you're looking for structural issues, such
- as cracks, loose bolts, corrosion, or even
- the general condition of drainage systems or waterproofing.
- This can be across a variety of scenarios, bridges, solar
- farms, distribution networks, and more.
- You might be using your data for photogrammetry or 2D orthomosaics
- or for the mapping and modeling of crash scenes,
- for instance.
- There are a variety of cameras that are commonly used for these missions,
- and they
- can vary. Zoom cameras, thermal cameras, wide angle, low
- light.
- And sometimes for inspections, desired standoff distance is
- impossible. For instance, maybe you're inspecting a utility pole
- that's surrounded by trees and foliage.
- Camera system versatility helps ensure that you're getting the captures you need
- in difficult situations like these.
- The goal here is combining high-resolution imagery with the ability to
- capture the exact shot you need safely and often
- repeatedly.
- Now, as far as situational awareness goes, for situational awareness missions,
- you're looking for potential suspects.
- You're looking at crowd sizes and movements, missing persons, or
- damage or obstructions after disasters.
- Cameras for these missions can vary as well and can be similar to those
- used for inspection. Zoom cameras, thermal cameras, wide angle,
- low light. But the specs themselves can differ
- and matter because they can
- be used in different ways. The goal here is combining the right
- balance
- of long-range visibility, high-resolution imagery, and
- real-time streaming to give operators continuous visuals on
- areas and events that are being monitored.
- Now let's talk about the sensor packages on X10 and why we chose what
- we chose, and how these versatile sensor packages
- meet the
- various use cases that we've been discussing.
- Our VT300Z is currently live with customers,
- enabling them to capture exceptional imagery for their needs.
- It has a narrow camera, telephoto camera, and a radiometric
- thermal camera. And we'll go into detail on all of these
- in a little bit.
- Our VT300L will be shipping to customers soon.
- It has a one-inch wide camera, a narrow camera, a radiometric thermal
- camera, and a flashlight to illuminate objects in
- low-light
- situations.
- In selecting cameras and capabilities for these sensor
- packages, we worked
- closely with customers and partners alongside rigorous
- testing and validation in-house and in the field to ensure
- great performance. So let's go over the specifics.
- To start, both VT300Z and VT300L have the FLIR
- Boson+ 640 radiometric thermal camera.
- When comparing the Skydio X2, we see significant
- improvements with this awesome module.
- We're seeing 2X thermal sensitivity, 4X resolution with the
- 640 by 512, and of course, we introduced the addition of
- radiometry, getting temperature measurements across
- the pixel array.
- Additionally, we do significant, a ton of work tuning for the best
- perform- performance, going to the field, testing,
- retuning, personalizing that tuning to fit the use cases of our
- customers.
- And talking to customers throughout that process,
- which has led to the preset tunes
- that we have today, tailored to inspection and reconnaissance.
- We also know that some of our customers like to dial things in even further, so
- we've also recently launched a custom thermal mode, allowing
- customers to adjust gain, high tail, and low tail knobs if
- they wanna adjust further.
- We know completing the mission on time is of utmost importance, so
- we made sure the sensor reliability matched expectations.
- Our Boson+ camera has been qualified to challenging automotive,
- military, and aerospace standards for worry-free
- operation in the most
- demanding environments.
- And thinking back to use cases, there are many.
- For inspection, radiometric thermal cameras can be used
- for utilities and
- substations, on solar farms, and more.
- For situational awareness, thermal cameras help our customers
- identify people in
- cars, among others, for reconnaissance, search and rescue, and
- more.
- Now, for radiometry, all three hundred and twenty-eight thousand pixels are
- radiometrically calibrated. What that means to you, real-time
- visual feedback of scene temperature information
- and saving thermal images in the RJPEG format is
- embedded with temperature metadata.
- Customers familiar with FLIR products will greatly benefit with the RJPEG
- thermal image when used with FLIR Thermal Studio.
- As an example use case here of this inspection of a solar farm,
- the high temperature icon, the red H, is indicating that a single
- cell on the highlighted panel has a thermal anomaly, which may indicate
- a damaged or defective panel.
- And then after detecting, the pilot could further review the color
- or the
- electro-optical imagery to rule out any issues due to soiling.
- Now let's talk about our EO or electro-optical cameras,
- or visual cameras,
- which together with thermal, form the basis of our sensor
- packages. I wanna start off by saying it's about
- combined performance. It's not just about each individual
- camera, but how they
- work together.
- For instance, we've worked carefully to select focal
- lengths and smooth transition
- points between them so that together, the total range of each sensor
- package meets our customers' requirements.
- In addition, with our state-of-the-art Quad Bayer Sony
- sensors,
- we can optimize our tuning for both bright and low light situations
- and augment those low light scenarios with the flashlight on our VT300L.
- By partnering with Sony, we have access to exceptionally
- high-quality
- sensors that allow us to keep our overall camera system small and
- light, taking advantage of significant recent
- advances in sensor
- technology.
- And then our world-class image quality team, including Russell, who you'll,
- you'll
- hear from later, partners with our customers directly
- alongside
- simulation and testing to ensure that we remain focused on the toughest
- requirements every step of the way.
- As an example, while developing VT300L, we visited
- bridges and critical infrastructure with our customers,
- capturing images, processing them in photogrammetry
- software, and
- further tuning and refining our systems.
- Overall, these just are not off-the-shelf products.
- They're fine-tuned for seamless operation and exceptional performance for
- our customers.
- Now, digging into each camera, let's start with the fifty-degree
- diagonal field of view Narrow camera.
- With sixty-four megapixel resolution and a custom rectilinear lens,
- Narrow is our versatile camera and a great all-around choice for both
- inspection and situational awareness use cases, such as
- overwatch for a law enforcement agency.
- This camera enables X10 to fly and focus from just one meter
- away, of course, augmented by our leading obstacle
- avoidance,
- enabling high-resolution, meaningful captures at a multitude of
- distances.
- Next, we have our thirteen-degree field of view
- Tele camera or telephoto.
- This is an extremely compact telephoto lens, ideal for punching in
- on detail in almost any condition.
- When used in combination and as a transition from the Narrow camera
- in our
- VT300Z sensor package, it's a great
- choice for situational awareness as well as inspections
- where you are unable to get close. Imagine a scenario where a
- drone providing overwatch with the Narrow camera needs to zoom in and
- identify, for instance, a vehicle license plate from six hundred
- feet
- away. With the VT300Z, the user can zoom in
- seamlessly from Narrow through Tele to get that information that
- they need.
- Alternately, perhaps you're doing inspections of
- utility poles, as
- mentioned earlier, surrounded by vegetation
- and you can't get close.
- Both the Narrow and Tele lenses could be well-suited to get this shot from far
- away.
- Finally, with the VT300L that's coming soon, we're
- introducing the one-inch wide camera used in condu-- in
- conjunction with the Narrow and the thermal,
- and replacing the Tele camera that you
- would find on the VT300Z.
- With its ninety-three-degree field of view, Wide is well-suited to capture
- large scenes close up in high detail, even in very low
- light.
- It has vastly improved sensitivity compared to previous generation cameras,
- and it's great for inspection use cases while still being a great
- versatile all-around camera. Recall that the
- VT300L also has an LED flashlight for effective
- illumination of objects up to three meters away.
- Alongside the one-inch Wide and Narrow cameras, this further enables
- inspections in low light situations, such as inspecting the shadowed
- underside of a bridge.
- Once again, it's not just about each individual
- camera, but how they
- work together in sensor packages that we've thoughtfully designed to meet a
- variety of use cases.
- In addition to our thermal and EO cameras, our image signal processing,
- or ISP, and image quality, or IQ, the tuning plays
- a significant role. Throwing the right cameras into a sensor
- package is one
- thing, but there is an enormous amount of work
- that happens after that, our ISP.
- This is another area where Skydio separates ourselves from our competitors.
- Fine-tuning and pixel peeping to get accurate color, as well as
- balancing denoising and keeping the correct amount of detail.
- Capturing images is one thing, but processing can play a substantial role
- in
- refining the captured data's white balance, exposure, noise
- correction, and color correction.
- And with that in mind, we've partnered with Qualcomm to use one
- of their most
- advanced image signal processors.
- Bringing everything together, you can have confidence
- that you will get the
- photos and videos needed to get your job done without
- having to worry about your camera.
- Now, when it comes to capturing the very best
- aerial data, the
- cameras themselves are only a portion of the equation.
- There are other critical factors that we considered in building the X10,
- including, for instance, lighting.
- This influences clarity, depth, and texture in your
- images. With proper lighting, you can reduce noise and graininess.
- And with that in mind, we added an LED flashlight to the VT300L
- sensor
- package.
- Next, we have proximity.
- The greatest cameras available are of limited use if you can't
- access the areas you need to conduct your missions in complex
- environments, such as, for instance, an urban canyon.
- The X10 can handle environments where others simply can't go.
- Next, we have autonomy.
- Navigating and capturing the right data can become
- exceedingly complex. Enabling the X10 to autonomously
- navigate complex, obstacle-rich environments and even
- automate challenging missions enables even minimally trained
- users to complete missions just as well as their veteran pilot
- peers.
- And finally, connectivity. Skydio X10 can be flown both from
- your controller and remotely with Remote Flight Deck, allowing
- operators to fly wherever they need.
- With all that said, we know that many of you will be focused on
- third-par-party
- validation and metrics, so let's share that with you
- today. Today, we're giving a preview into how these
- cameras have been
- performing with a focus on our VT300Z sensor package,
- and with plans to have a later report for the VT300L.
- Now I'm going to hand it over to Russell to go over that with you.
- Yeah. Thanks, Rayad. Um, hi, everyone. My name is Russell Bondi.
- I lead the image quality team
- here at Skydio. You know, I feel really fortunate to be the one to,
- to present
- this, um, this amount of work that's gone into this.
- You know, we were really excited to, to partner up with Imatest
- here and see if they wanted to take on this project. Um, and they did.
- And so I'm gonna talk you through the kind of the main components of the, the
- image stack here. Um, sharpness, color
- accuracy, s- noise ratios, uh, and then dynamic range.
- Um, and I'll... This is just a slider overview of the different
- camera systems here that, uh, that we, we measured
- today. Um, and so [clears throat] like Rayad talked
- over, we have our
- full-res sixty-four megapixel narrow camera, um, our telephoto that comes in
- at forty-eight megapixel. Um, then we did the Mavic
- 3, we did the, the M30, and then we did the Autel
- 4T. Um, and the way we kind of grouped these up
- were we, we chose the field of view
- of the M3E to match our narrow camera for this, and we, we actually
- doubled the distance of the narrow camera so the field of view
- matched. So everything for the M3E is captured at one meter,
- and everything for our
- narrow camera is captured at two for all these tests.
- Um, and then luckily the, the... Our tele camera matched the specs of the
- 4T and the, the M30 pretty well, so we me- measured those at five
- meters, um, across the board. So like I said, really, really excited
- that Imatest took on this project.
- They're, they're super well known in the, in the camera industry, um, for, you
- know, for, for technology, for software that de- helps, like,
- analyze images and cameras and whatnot.
- And then also the, the hardware for, for testing.
- Like this chart right behind me is, is a, is an image inj-- or is a
- Imatest chart.
- Um, moving forward. Um, so the first block of
- this, um, which is a [chuckles] really important
- block, is, is sharpness, right?
- Y- we want our cameras to be sharp. You know, the difference between,
- uh, getting sharpness right the first time
- stops us from having to go back and
- recapture the image. Um, and
- sharpness is a difficult thing because it's not just the lens.
- You know, we often think like, "Oh, this lens isn't sharp." Um,
- it could be the
- lens. It, it could be the, the sensor behind it.
- It could be just not having enough pixels on the target.
- Um, it could be your kind of balance between
- noise
- and denoise. You know, if you, if you're really adverse to noise,
- you might denoise
- too much, and that, that eats into your sharpness.
- Um, could be your autofocus failing.
- There's a lot of factors that, that contribute to sharpness,
- and getting them all
- right in an image is really important.
- So you can see here on the left this, like, example image, that, that dial, that
- gauge is super sharp. We're getting the information
- we need out of that. We might not be able to read the number.
- Might send someone back out to the field to recapture that image.
- So at Skydio, our goal is to just do this once, do it right.
- Um,
- and speaking about sharpness, we're gonna go into s-
- the next slide here, and
- there's gonna be some numbers. So I wanted to give you a little overview
- of how we
- get those numbers.
- Um, MTF is the measure of contrast, basically.
- So on the right side of the slide here, um, you can see these kind of descending,
- um, frequencies. It's like bigger line charts or bigger,
- uh, pairs at
- the top as they get smaller at the bottom.
- And so what MTF is doing is it's measuring the, the black
- and white.
- It's measuring how much gray is in between those.
- So at the top here, we have a really clear black line
- alongside a really
- clear white line. Um, so we're gonna have a really high amount
- of contrast there,
- and our camera should be able to, to measure that and say, "Hey, black
- is really
- well defined. White is really well defined." And then as we,
- we sh- we move down
- this, the, the frequency of those line pairs become
- closer together, and you can
- see it becomes more gray. And so then we're measuring the amount of
- gray instead of
- the black and white. Um- That's how we get these numbers.
- A- and I think it's, it's a super great test and,
- and we'll go into the slides, and
- we want everything to match. You know, we want our data to match what we see as
- well, like our objective numbers to match our
- subjective stuff.
- So we'll kind of bounce everything off.
- And the way Imatest did this was they gave us a number,
- but then they also gave us
- an image that goes alongside it, which I think is super valuable.
- Um, and so we'll go into the next slide and,
- and I'll, I'll talk you through it.
- So here's sharpness. Again, this is in daylight conditions.
- This is our, uh, bright light here. Um, this is our narrow camera system.
- Uh, on the left, we have the X10 full-res, which is scoring five thousand
- line width per picture height. Um, we're happy with that score.
- It's a great score. Um, our binned mode is, is lower resolution,
- hence a lower score. Um, across the board, people are-- we're doing pretty well
- here. The M3E's doing well as well.
- Um, and I think the cool part to look at here,
- which I love to see, is that our
- objective data matches what we see on the chart.
- So the five thousand line pairs, um, on the left of the full-res,
- if you look at the fifty-foot mark and the fifteen point two meter mark,
- that looks
- really sharp. It's the sharpest out of all of them.
- So we're excited to see, again, our data match, and I think this
- is key for,
- for, for understanding going out once, getting your data, getting clean data,
- and then moving forward.
- Um, and so the, the piece of this that, that makes a lot of sense to me,
- um, is when we move into the low light
- capture. So this next slide is low light.
- And because our full-res image is using our smaller pixel, we're
- collecting less light. And so when we move into these low light scenes,
- the
- scene... the, the MTF results are being more dominated by noise,
- um, which makes sense. So we're not seeing our full-res still
- shine through,
- even in low light conditions, which would kind of make you question
- whether the
- data was accurate. We're seeing our binned mode,
- and we're seeing the M3E all of a
- sudden become on top of this, the score, and that makes sense based on the pixel
- size and how we collected and how we analyzed this data.
- So again, Imatest did a great job here,
- and we see our binned mode become a sharper image.
- If you look at the fifty foot and the twelve, um,
- or the fifteen point two meters,
- they look sharper. That makes sense to us.
- Um, and then you can see our full-res, the image looks a little noisy.
- The fifty meters looks a little
- softer. Like, that's like kind of physics
- and hardware standpoint.
- So this data, i- in my mind, you know, it is very valid and, and
- looks great. We're excited to see our binned mode stand
- out here, and I
- think, you know, it's talks to, to the versatility of these sensors.
- Um, if you're in daylight and you're trying to capture high-res
- information, our
- full-res mode i- is gonna be great.
- And then if you're doing something in lower light,
- maybe you're on the underside of
- a bridge or just, you know, the light, the sun has set and you still gotta get
- some
- work done, the binned mode is gonna, you know,
- perform just really well in those
- low light conditions and, and allows us kind of to do the best of
- both worlds.
- Um, in our HDR, we make some, some, some moves here to, to really
- stretch the dynamic range. So we expect a little loss there as well,
- and so it
- makes sense.
- Um,
- and then we're looking at our, our, our tele system here.
- Again, this trend is that, you know, we'd expect based on the hardware
- configurations that the X10 full-res should be the highest here.
- It's a forty-eight megapixel system.
- Um, we're excited that, that again, the, the thirty-- the three thousand
- line widths per picture height is the highest.
- The fifty looks really great. You know, across the board, everyone kind of has
- differing issues. Um, you can see the Autel 4T looking really
- soft
- here, um, and a lot of like looks like denoise.
- We'll, we'll talk about that in a little bit.
- But I think this test is super valuable and, you know,
- as we move
- forward with Imatest, the, the way these, these were set up is that we can repeat
- these tests. So maybe we make a bunch of software
- changes to our narrow camera,
- um, down the line. We can then send it back to Imatest to be
- benchmarked again,
- s- add it into this stack. Super valuable, um,
- flexible. Um, in the low light,
- again, we'd really like to see this flip.
- All of a sudden, the quarter res standard, our binned mode, um, s- um,
- up on top. And you can see, like I mentioned before, uh, as you get
- into lower light, um, maybe your lens is great and your sensor's great,
- but your autofocus algorithm starts to struggle, starts har- having a hard time
- finding the difference in the contrast.
- Um, that's something we faced a lot with some
- of the DJI products, was just in the
- low light, all of a sudden focus became problematic.
- And so you can see, uh, the M30, even though it has similar pixels
- to, to what we're using, it's falling short again to our binned
- mode.
- Um, so just, just other things to think about
- when you look at this data.
- And another piece of this is
- the Autel, um,
- looks... It's scoring pretty well here, uh, but I would say...
- argue that the M30 looks better. Um, but one thing you can note is that the
- Autel, if you look at the D, it has this kind of white halo around
- it. Um, and so essentially, like I mentioned before,
- we're measuring the difference
- between the, the black and white. And so if you,
- you kind of over-sharpen the
- image, it creates this halo artifact, and then you kind of fool the algorithm.
- So another reason that it's really nice
- that Imatest paired the images is that you
- can see like, "Hey, you know, they're clearly like really soft,
- can't read the
- fifty, but they're scoring high. Why is that?" And then if you,
- you look into it a
- little further, you're like, "Oh, they've like, you know,
- artificially made a white." So you kind
- of trick the system. So another reason why it's really
- important to look at your
- objective numbers and then also look at it side by side with
- your subjective
- images.
- So moving on here, um, I... Talking about sharpness,
- why we think it's so important, uh, again,
- we, we wanna understand, we want you guys to go out
- and no matter what
- your use case is, we really want you to capture your data
- and do it just once,
- understand it, and go home and ana- analyze it in a way that's super useful.
- So we're zooming in here on our narrow camera. Oh, there's a crack.
- We're... What, what's going on? Let's take another look.
- The more we punch in, we discern there's a point one millimeter
- crack
- here. We're happy that we can see that.
- It's a basically, you know, when you're looking at a crack,
- you're basically
- looking at a, a line pair in a sense, right?
- The black side is the crack and the, the wall is the white.
- We wanna make sure that we have enough pixels there,
- sharp pixels, and that our
- autofocus did a good job of, of making that stand out to us
- and choosing the right,
- the right piece of information to focus on.
- So the sharpness, you know, it's a big piece of it.
- Again, if you're thinking about the-
- The MTF, like a license plate's like the perfect
- example, right?
- Like, you have a, a black letter against a white plate.
- We gotta make sure that that line between the letter
- and the plate is really sharp.
- We wanna make sure we have good contrast there.
- So this, again, for our tele system is super important.
- It- it's important across all of our camera
- systems. We want them to be sharp.
- Um, we wanna kind of thread the needle of, of noise to sharpness,
- um, which we'll talk about more in a few, in a few slides.
- Um,
- these slides I'm gonna skip.
- So we're going to color accuracy. Um,
- this is, uh,
- a really, um, a really important piece to this--
- the whole camera system is, you
- know, everybody has different use cases.
- Color accuracy might be super important to some and, and less important to others.
- But, you know, the way I think about it is I, I don't want someone to go out
- and be
- trying to recognize a, a hazard, hazmat placard and, and get the color
- wrong or... You know, there's a lot of reasons why you'd want
- this to be really
- accurate. So for this camera program, we've really prioritized
- having correct colors in all lighting conditions, um, which
- is a difficult thing to
- do. Um, and we, we took on that challenge. I think we've done a good job.
- I'm excited to share the data. And just a little background again on how
- this one
- is calculated. What you see here is a color checker.
- Um, and what we do is we, we capture the color checker in different
- lighting
- conditions, and the color checker has a known value
- for every single
- patch that's on it. And then what we do is we, we then measure that known
- value against what our camera reproduced, and the delta between them is how we
- come up with, like, how accurate our color systems are.
- So moving forward, um, we measure the Delta
- E. This is measuring all the patches on the
- chart here.
- Um, and this is daylight. Cameras are really...
- You know, daylight's a, a-- kind of like the SRF.
- It's an easy kind of target.
- We really tune towards it 'cause a lot of our customers are using daylight scenes.
- Um, and everyone's scoring great here.
- You know, Delta E at a six is fantastic.
- That means the colors are being reproduced well. Um,
- it's pretty simple.
- It's when we get into low light and kind of mixed light conditions
- that all of a
- sudden we have a hard time kind of recognizing, "Oh, is that white or is that
- green?" Um, so as we move into the low light here,
- you can see
- that, that the colors change, the white balance shifts a little bit.
- Um, and so this is a low light scene, and Skydio's cameras across the
- board, you can see that that white of the eye chart
- is still really white.
- So you'd be out capturing this information,
- you'd know what you're getting.
- The M3E here starts to suffer a little bit. Their colors start to shift.
- The white turns a little more yellow. Uh, you know, it's just something to note.
- And, uh, you know, Delta E numbers and that stuff's a little bit hard.
- I think, again, like, it's really, it's really nice to have these images to
- go
- alongside it 'cause it, it just speaks to itself.
- Like, "Here, here's a great set of data. Here's how these images capture.
- This is what we're, we're after." Um, here we're go- moving into the tele
- system. Uh, you can see here everyone's doing a pretty
- good job.
- The Autel has kind of a, a purple tint to it, which
- is being picked up.
- They're scoring eleven, whereas everyone else
- is in the low numbers.
- Um,
- I think this is, this is daylight. Again, these numbers are all, like, very low.
- Only one that's a little bit elevated is the, the Autel.
- And then going into lower light, um, you can see here
- this system again is, is performing well.
- You know, we-- Since we're measuring across all the
- different color patches, the
- numbers can change a little bit, but we're pretty happy, like,
- with the subjective
- review here. You're like, "Our whites are looking white, our greens are looking
- green." The Autel and, and the M3E have shifted towards being
- warmer and, and kind of not, you know, representing each color exactly as
- it would be on-- in s- in the scene. And so we
- focused on this. We're really happy how it came out.
- We're really happy that Imatest, again, paired images with numbers.
- Just makes it really simple for us to step through and see this.
- Um, so that's, that's fantastic.
- And then why color matters. We want you guys to go out and, and to,
- to, to
- capture your images and understand, like, "Hey, this rust is like, you know, more
- advanced," or the next thing. You know, we really want everything to be very
- natural. This concrete is, like, you know, it's not yellow, it's actually gray,
- things like that. So we're, we're pretty happy with,
- with how things have gone.
- And then the next big piece here. Um, I think sharpness and
- noise are kind of the, the main pieces to a system and,
- and they kind
- of fight each other when we're, when we're tuning, right?
- Like, we really want everything to be sharp,
- but we don't want any noise to be in
- the scene. And so as we remove that noise, there's a really fine line.
- So noise, um, to a camera system and to an ISP looks a
- lot like
- detail. A noise, we accidentally take away detail.
- Um, so Skydio, you know, on our ISP side, we spent a lot of time kind
- of pixel peeping and fine-tuning that trade-off.
- We, we wanted to remove as much noise as
- possible, but we definitely didn't wanna
- remove any detail because the detail's where the data is, and we want, um, all
- our customers to go out and capture everything
- and have as much detail, um, as
- possible. And, and even, like, a little bit of noise I think is,
- is okay to look
- through. Um, we definitely didn't want
- that kind of smoothing artifact to take
- place,
- um, and then remove any of the information
- that, that is key to, to getting the job
- done. So we're doing signal to noise here. Here's daylight.
- Um, again,
- the, the paradigm between, um, our full res and our quarter res,
- uh, in sharpness that we saw should, should kind of match here as well.
- Like, the smaller pixel of the full res, um, is gonna have a harder time
- collecting light. There's gonna be more noise in that.
- But then when we double that pixel size, we're able to collect way more light.
- The sensitivity of the sensor goes way up, and we can perform a lot better.
- So we'd expect these numbers to, to flip like we saw in the, in the SRF da-
- or the MTF data. [clears throat] So
- here, daylight, everybody's doing really well.
- The full res is a little bit lower.
- It's a much smaller pixel than the M3E and our-- even our, our, our quarter
- res. Um, and then we step forward, and you can see again,
- like looking at the subjective images, the full res looks noisy, the number's
- low. Our bin is, is doing better here. Our HDR is doing better.
- And the M3E, which has, has a big pixel, this is
- just physics. Um, and so we're-- But again, this kind of just
- proves out that this data is very, very well captured and, and documented.
- So we're, we're happy to, to kind of see this.
- We're happy to see our bin mode do better.
- Again, leads towards us being like, you know, our camera's versatile.
- You're in full res, you're in good light, you should be using full res mode.
- There's low noise there to begin with.
- You can capture a ton of data, you can expedite, things can be faster.
- Um, but then you get into these tricky
- situations, it's nice to be able to have
- this other mode that captures even more light, the sensor becomes more sensitive,
- um, and you can reduce that noise footprint.
- Looking at our, um, tele mode here
- across the board, um, this is another one w-
- that's a little bit tricky
- just because Autel, uh, is scoring the highest here.
- But if you look at what they're doing, I, I spoke to it just a, a minute ago,
- it, it's a balance of noise reduction to
- detail.
- Um, and they went really heavy- heavily-handed towards noise reduction,
- like
- they're at fifty-one DBs, which is significantly higher than anyone else.
- But if you look at the subjective image, you can hardly read the ten, right?
- They've, they've removed so much noise
- that they're now eating into their detail,
- um, which is not something we- we're trying to do.
- Um, I think if you're in a consumer product
- and you don't want noise to be seen,
- it makes sense. But really if you're in an inspection,
- an enterprise use case,
- um, or any use case in kind of the enterprise
- wheelhouse, you
- want that information.
- So again, this is, this is the daylight condition.
- Everyone's measuring roughly the same here, um, you know, besides
- Autel, which again, you know, they're, they're punching up that noise reduction
- and, and hurting themselves a little bit.
- Um,
- then we get into the, the low light.
- You can see the different camera systems perform differently.
- Our full res versus, uh, the, the DJI M30 full
- res, they start to suffer where the bin modes,
- um, start to do a little
- better. So we're happy to see again that the Autel's smoothing,
- the ten has basically disappeared.
- Um, our X10 quarter res, uh, is, is
- doing well here. We're excited to see that.
- And then our HDR there looks really good here, which is great.
- You know, the tele system is, is a, is an impressive system.
- Um,
- and kind of speaking towards
- why we think this is important and why you might wanna switch modes in
- different
- scenes, like here's an example of a, a really dark area.
- Um, and even some parts of the scene, this scene are, are even darker than the
- others. So on the right side here, it's dominated by this kind of chroma
- noise,
- and all the information along that wall is then hidden, right?
- That's our full res on the right. You're not getting a ton of noise.
- And then you switch over to our, our bin mode,
- and all of a sudden you're revealing
- this entire concrete wall. You're able to then see more information.
- You're able to get the job done. So it's super nice to kind of have both in
- the
- wheelhouse. For the top side of this bridge,
- let's say you were...
- you know, if you're doing things quickly, you're in full res, and then you're like,
- "Hey, man, we need a little more light down here."
- Boom, we switch modes.
- It's super powerful, um, and, and dynamic.
- Moving on to dynamic range. I love dynamic range.
- I think it's like one of the coolest metrics.
- I also just love how a, a wide dynamic range looks.
- Um, this really isn't, you know, the typical, uh, inspection shot,
- but I, I really like the way this looks.
- Um, this is a shot near our headquarters.
- Um, so you can see that our system here, uh,
- is keeping the sky. On the right, we have our HDR system.
- On the left, we have our full res. Um, the shadows are, are kind of
- lost. There's information there that's being
- lost.
- Um, and typically, if you were to expose the shadows correctly,
- then the sky
- would become overexposed, right?
- You'd have to like give up something in order to get something else.
- But with HDR, the goal is to be able to stretch that,
- keep the highlights like we
- did here, but also boost the shadows.
- Um,
- so the skyline looks the same, but all of a sudden, all
- that information down in
- that lower region is now lifted. We can see it.
- Super powerful example. Um, and the way we're doing this with the
- IMX chart here on the right is the-- starting at the
- bottom, there's these, there's squares that go all the way up,
- right?
- And so we, we measure the first square on this chart
- in the dark region that we
- actually get some information that's not completely clipped.
- We note that down. Then we start at the top,
- and we go the other direction.
- The first square there is totally overexposed.
- There's no information there.
- The next one, we get some information, and then how many squares are, are in
- between those two is how we determine the dynamic range.
- You'll see this chart a lot in the, in the following slides.
- That's just kind of the, the background of how we get it done.
- Um, so here is our dynamic range. Um,
- we're pretty excited about these results.
- The one thing I will add is that this test, uh, the way
- it's set up is the, the chart is a small portion of the field of view,
- and the
- rest of it is all black. Um, it's kind of built on an
- older technology of dynamic range.
- The, the sensor we use, which Ryad spoke to earlier,
- is a Quad Bayer sensor, so
- it has a feature called Quad Bayer HDR.
- And the way that works is it actually takes multiple exposures
- across
- multiple pixers-- pixels and then fuses those together.
- So it's, it's essentially doing kind of the old
- school HDR, where you take an
- underexposed, a correctly exposed, and then an overexposed to
- get all the different parts of the scene, and then in post-processing, you fuse
- those together. You get a really wide dynamic range.
- We're doing that in real time at an image, and we're, we're leveraging different
- pixels to do that.
- So
- the cool part of that is that we can really stretch dynamic range.
- The other part is that it's,
- it's a dynamically trigger unless it's needed.
- So if you're in a very flat scene, we're gonna expose all the pixels exactly
- the
- same and only turn on this kind of algorithm when, when
- the scene demands or requires a stretch.
- Um, and so our HDR didn't exactly trigger in
- this scene,
- which we really would have liked to, but it's something we've tuned for like
- kind
- of real world cas- cases and less tuned for,
- um, you know, test environments or, or lab environments.
- So luckily, our, our tele system has a narrow field of
- view, and so
- with a narrow field of view, this did trigger, and so we'd expect the
- exact same performance with our narrow camera as we would with our tele because
- they leverage a very similar pixel and a very similar technology.
- So that being said, uh-
- We've also tuned our, our standard mode to have a really wide
- dynamic range as
- well, because we think that's a key part for
- getting jobs done.
- We've exposed things lower, and then we kind of boost using tone
- mapping to stretch
- it. So our, our full res and our bin mode have a really,
- a, like, large amount of dynamic range, we think, for, like, a standard system.
- Um, we're seeing here that HDR is scoring the worst, which
- is just confusing.
- But again, it's because the, the test system is,
- doesn't really match our
- technology. Um, M3E has a, a really big pixel, and they do well
- here. You know, that's just the way it is.
- Um, and then if we go to our telephoto, this one is where our system did
- trigger, and we're really happy to see the results.
- Again, for telephoto and for narrow, um, we stretch the
- dynamic range a huge amount just in processing in the ISP side.
- So we pulled, uh, we pull the dynamic range with
- tone
- mapping and ex- sim- But then if you see our HDR mode,
- once we trigger the
- dynamic HDR, we're getting huge numbers there,
- really stretching the dynamic range.
- That means you're on the underside of a bridge and you care about what's behind
- you. Uh, you can expose the sky correctly
- and maybe, you know, a piece of the
- facade, and then you're also getting all the
- detail on the underside by stretching
- the dynamic range. Like, it, it's just a really cool mode to get things
- done.
- Um, and I, I think it's a, a very powerful tool, and I'm happy
- that it, it got
- a showcase here. And I, I think that the narrow camera would do the exact
- same
- thing i- if we just got it to trigger, and we've seen it on our side.
- Um, but, you know, as we go forward with Imatest, we'll,
- we'll work on this type of
- stuff, um, and other camera systems.
- Yeah, so that's dynamic range. Um, here's a really cool example of it.
- I think, again, you know, noise and sharpness are, are key, but
- also being able to do everything in just one shot, kind of making this
- user-friendly mode is, is super exciting.
- So in the background here, the sky looks very similar.
- We've exposed that similarly. But in the foreground, that pipe there,
- there you can see, um, I don't know how well it comes across on
- the link, but
- there's actually text stamped in at the bottom of the pipe, which is totally lost
- on the far side, on the left side, and then there on the right
- side. Um, and I think that kind of information is like, "Hey,
- we have this one
- mode. It's super versatile. It allows us to get, you know, the,
- the shadows, the
- bright areas." It's, it's super cool and, you know, the game, name of the game is,
- is getting the data, getting it once, and then getting, uh, back to, to the shop
- or wherever you need to be. Um,
- so, uh, I think, uh, I, I think that wraps up what I was gonna talk about.
- I'm super happy that Imatest was able to take this project on.
- Um, and, you know, a cool part of this is they've done a good job having a
- controlled environment, so we can continue to add.
- You know, we, we haven't stopped, uh, you know, making changes
- to our, our narrow camera, our tele camera, our HDR algorithm.
- Lots of stuff has changed, so we can send that back,
- get it remeasured.
- Our L gimbal can be part of this. Um, you know, as new products come out,
- we have
- the ability to benchmark them. It's really nice for,
- for us on the engineering
- side to see how things are progressing and, you know,
- the trade-offs being made.
- And I also think it's really nice for the customers to understand, you know, "Oh,
- this camera system does really well in here.
- Oh, this mode does this." It kind of gives you
- insight into how the cameras are
- working and allows you for your use case to, to kind of
- prioritize what you want most and, and gives you insight into how our modes
- work.
- Um, so again, I'm, I'm super happy, and I'll, uh, I'll,
- I'll pass it back to Jason
- to, to take it across the finish line.
- Thank you very much, uh, Russell and Ryad. I really appreciate that.
- And Laura, it looks like we have a few questions
- inside here if you wanna start,
- uh, working through them.
- Yes. Yeah. So as a reminder, if you have a question, to please
- submit them in the Q&A box, and we'll do our best to get to
- as many as possible. So we have a question.
- Uh, Russell's measurement session was very interesting.
- Where can we find a way to obtain the different values
- indicated under the parts of the images being compared?
- Is it possible to have the setup with the test condition,
- conditions and the information to correctly set the parameters
- of the various i- various Imatest measurement mo-
- modules by email
- or at a later time?
- Yeah. Um, so this was just kind of a summary of a,
- a large body of work
- they did for us. Um, and we c- That, that link is
- available, and can, you can download their larger project.
- You can read through the, kind of the test conditions,
- how tests were set up.
- They did a great job of documenting kind of every step of the way.
- Um, it's just kind of a, it's a denser read.
- Like, we wouldn't wanna read through that during a, a webinar.
- It's more of like, "Hey, I just gave you the, the touch points,
- the high-level
- stuff." Um, but absolutely recommend people go over
- and download that and, and take
- a deep dive into that, um, that document. It's super powerful.
- Great.
- And just as a side note to that, um, we actually have, if you go to the skydio,
- um, .com/blog, we actually have a blog post
- that actually summarizes
- much of what Russell shared here today, as well as a link to
- that much more in-depth Imatest report. So highly recommend that.
- And we'll also work to see about sending that out after this, uh, after this
- webinar.
- Excellent. Thank you. Uh, we have a question here:
- How does the camera on
- the Skydio 2+ compare?
- Um, yeah, that's a great question.
- Uh, you know, we didn't really think about it 'cause
- we're kind of thinking about
- this generation and, and the competition around it,
- but having the, the
- S2 product also measured by the Imatest team seems like something super
- valuable. Um, the S2, it, you know, we're not gonna knock
- it. You know, I worked on that camera as well.
- It's a great camera system.
- Um, but some of the things that limit it is its, its resolution.
- I know we, we heard from customers we want higher
- resolution, so that's why our
- 64, 48, and 50 megapixels are kind of answering that.
- But again, the S2 is, is a really powerful camera system.
- It'll do a good job with color re- reproduction.
- You know, it's sharp up to its kind of megapixel
- limits.
- It's, it's a really good camera system. We just kind of upped the bar again.
- We went to, you know, newer sensors.
- We went to higher resolution, um, things like autofocus.
- There's additional capabilities, additional algorithms built into the new
- cameras. But the S2 is still a, a workhorse, um, and should, you know,
- be used if, if it fits your criteria.
- Great. Thank you. Um, we have a next question here.
- Will Skydio 3D scan work with the thermal
- Boson+ payload along with the RGB
- and provide appropriate stereo overlap?
- Yeah, I can take that one. Um, so the, the answer is that the X10
- 3D scan, in addition to capturing both, uh-- in addition to capturing the
- RGB images, the, the color images, um, you also have the option to
- capture thermal, uh, JPEG files and RJPEG files
- during that scan. Um, through the user interface
- when you're setting the scan up,
- it will calculate the corresponding overlap and sidelap for the thermal
- images based on the overlap and sidelap settings
- that you have for the RGB
- color images, um, that are provided by the user.
- Thank you. Let's see here. Our next question.
- Uh, will the Imatest testing en-encompass, uh, the
- VT300-L?
- Yeah. Yeah, I can take that. Um, absolutely.
- I, I mean, w-we plan to work with them.
- Based on where we were in the development cycle,
- it didn't make sense.
- The, the VT300L was, was really early, and so measuring it, you know,
- before you've
- had a chance to tune it, you know, just isn't, isn't really a good idea.
- So now that we're, we're getting closer to, to getting
- that out the door, I
- absolutely would love to, to send that over to Imatest.
- And like I mentioned before, the way they've set up these tests
- is it's not like we
- need to test everything again. Everything's documented.
- We use the same light sources. We use the same distances.
- And so we can just add one more camera into that system and then get
- that data out
- of it, add it to this larger database, and I, I think it's super powerful.
- Um, we'll do that for the L, the, the one-inch wide.
- Um, any cameras that come out of Skydio, I, I plan to kind of have them benchmarked
- against our, our previous generation and then also the, the latest and greatest
- competition.
- Thank you. Uh, let's see. Our next question.
- With the sensor packages being upgradable, are there plans for
- additional ones beyond the ones shared today?
- Uh, yeah, happy to, happy to answer that one. So, um, it's a great question.
- Currently, our plan-- we are, we are looking at building additional sensor
- packages
- for X10. Um, just in general, the platform is modular.
- The sensor packages are upgradable.
- So we're always looking at new cameras, technologies, capabilities, how they can
- work together. Um, and we've been talking with customers to
- understand what
- problems they need to solve and what we could build to meet their use
- cases.
- Thank you. Our next question. What countries are the X10
- available in?
- I can answer that one. Um, so right now, the X10's available in both the
- US and Japan, even though we're planning to release to
- much of the Commonwealth in
- the foreseeable.
- All right. This question's a bit of a general
- question.
- I'm not sure who wants to take this. Um, this might be for, uh, more for Russell.
- But what are some of the major challenges you were faced with,
- and how did you solve them?
- Um, yeah. I, I'll take that. Uh, I
- think one of the major challenges we were faced with was,
- was tuning our autofocus to, to really, you know, prioritize the correct,
- um, things in the scene.
- Uh, so you know, autofocus is a tricky
- thing, and so at first, we were, we were working with it, and it
- was prioritizing
- kind of the background too much. Um, and then we enabled
- some additional algorithms which allowed us to prioritize the
- foreground and,
- and really, you know, help our users, like, select the right object without
- having to touch the screen. You know, you don't wanna always be tapping and
- whatnot. So we've, we've enabled some a-additional layers
- there that allow us to prioritize the correct things, allow focus to be a little
- bit smarter, to, to choose what we think our,
- our operator is really looking at
- versus, like, you know, what might be the, the high-- the highest high-- highest
- con-contrast in the scene. I definitely think autofocus
- was a challenge, and I'm,
- I'm really happy where, uh, where we are today with it 'cause we did make a lot
- of
- progress throughout the, the project.
- Thank you. Um, you said that the camera
- automatically switches between standard and HDR.
- Is that correct? And if so, can you tell us on what basis it is
- done?
- So the camera doesn't automatically switch between the modes.
- What happens is the exposures will change.
- So if the scene does not require
- a, uh, a multiple exposures, 'cause multiple exposures means you're
- using different
- gains and different exposure times.
- So you wouldn't want to introduce, like, more noise in your scene if you didn't
- need it. Um, so the idea is if you're, you're capturing kind of, you know,
- something that's low dynamic range, we'll just use one exposure
- time and one, um, one gain level for the entire
- scene. No additional noise needed.
- And then when you wanna get into a, a high dynamic range scene like a bridge,
- our
- pixels will automatically-- it'll detect that, that like, "Hey, the--
- we're, we're,
- we're not able-- We're not getting any information here.
- We're gonna increase our gain. We're gonna ex-lengthen our exposure time,
- right, to, to bring out these shadows." So we won't
- switch between the modes.
- Our HDR mode is a dynamic HDR which allows us to, to
- switch intelligently between using one exposure across the entire field of
- view or multiple exposures, just to clarify that. Yeah.
Watch Time
48 Mins 17 Secs