


Skydio Blog
If you're a member of the press and have questions for Skydio, please get in touch at press@skydio.com.

Featured  Skydio
Read post Skydio Commits $3.5 Billion to Expand U.S. Manufacturing and Secure American Drone Leadership
Skydio Browse all posts
Read post

Sub-Inch RTK Mapping Accuracy, Proven in the Field
Post-Incident Review for Degraded Connectivity on May 6-7, 2026

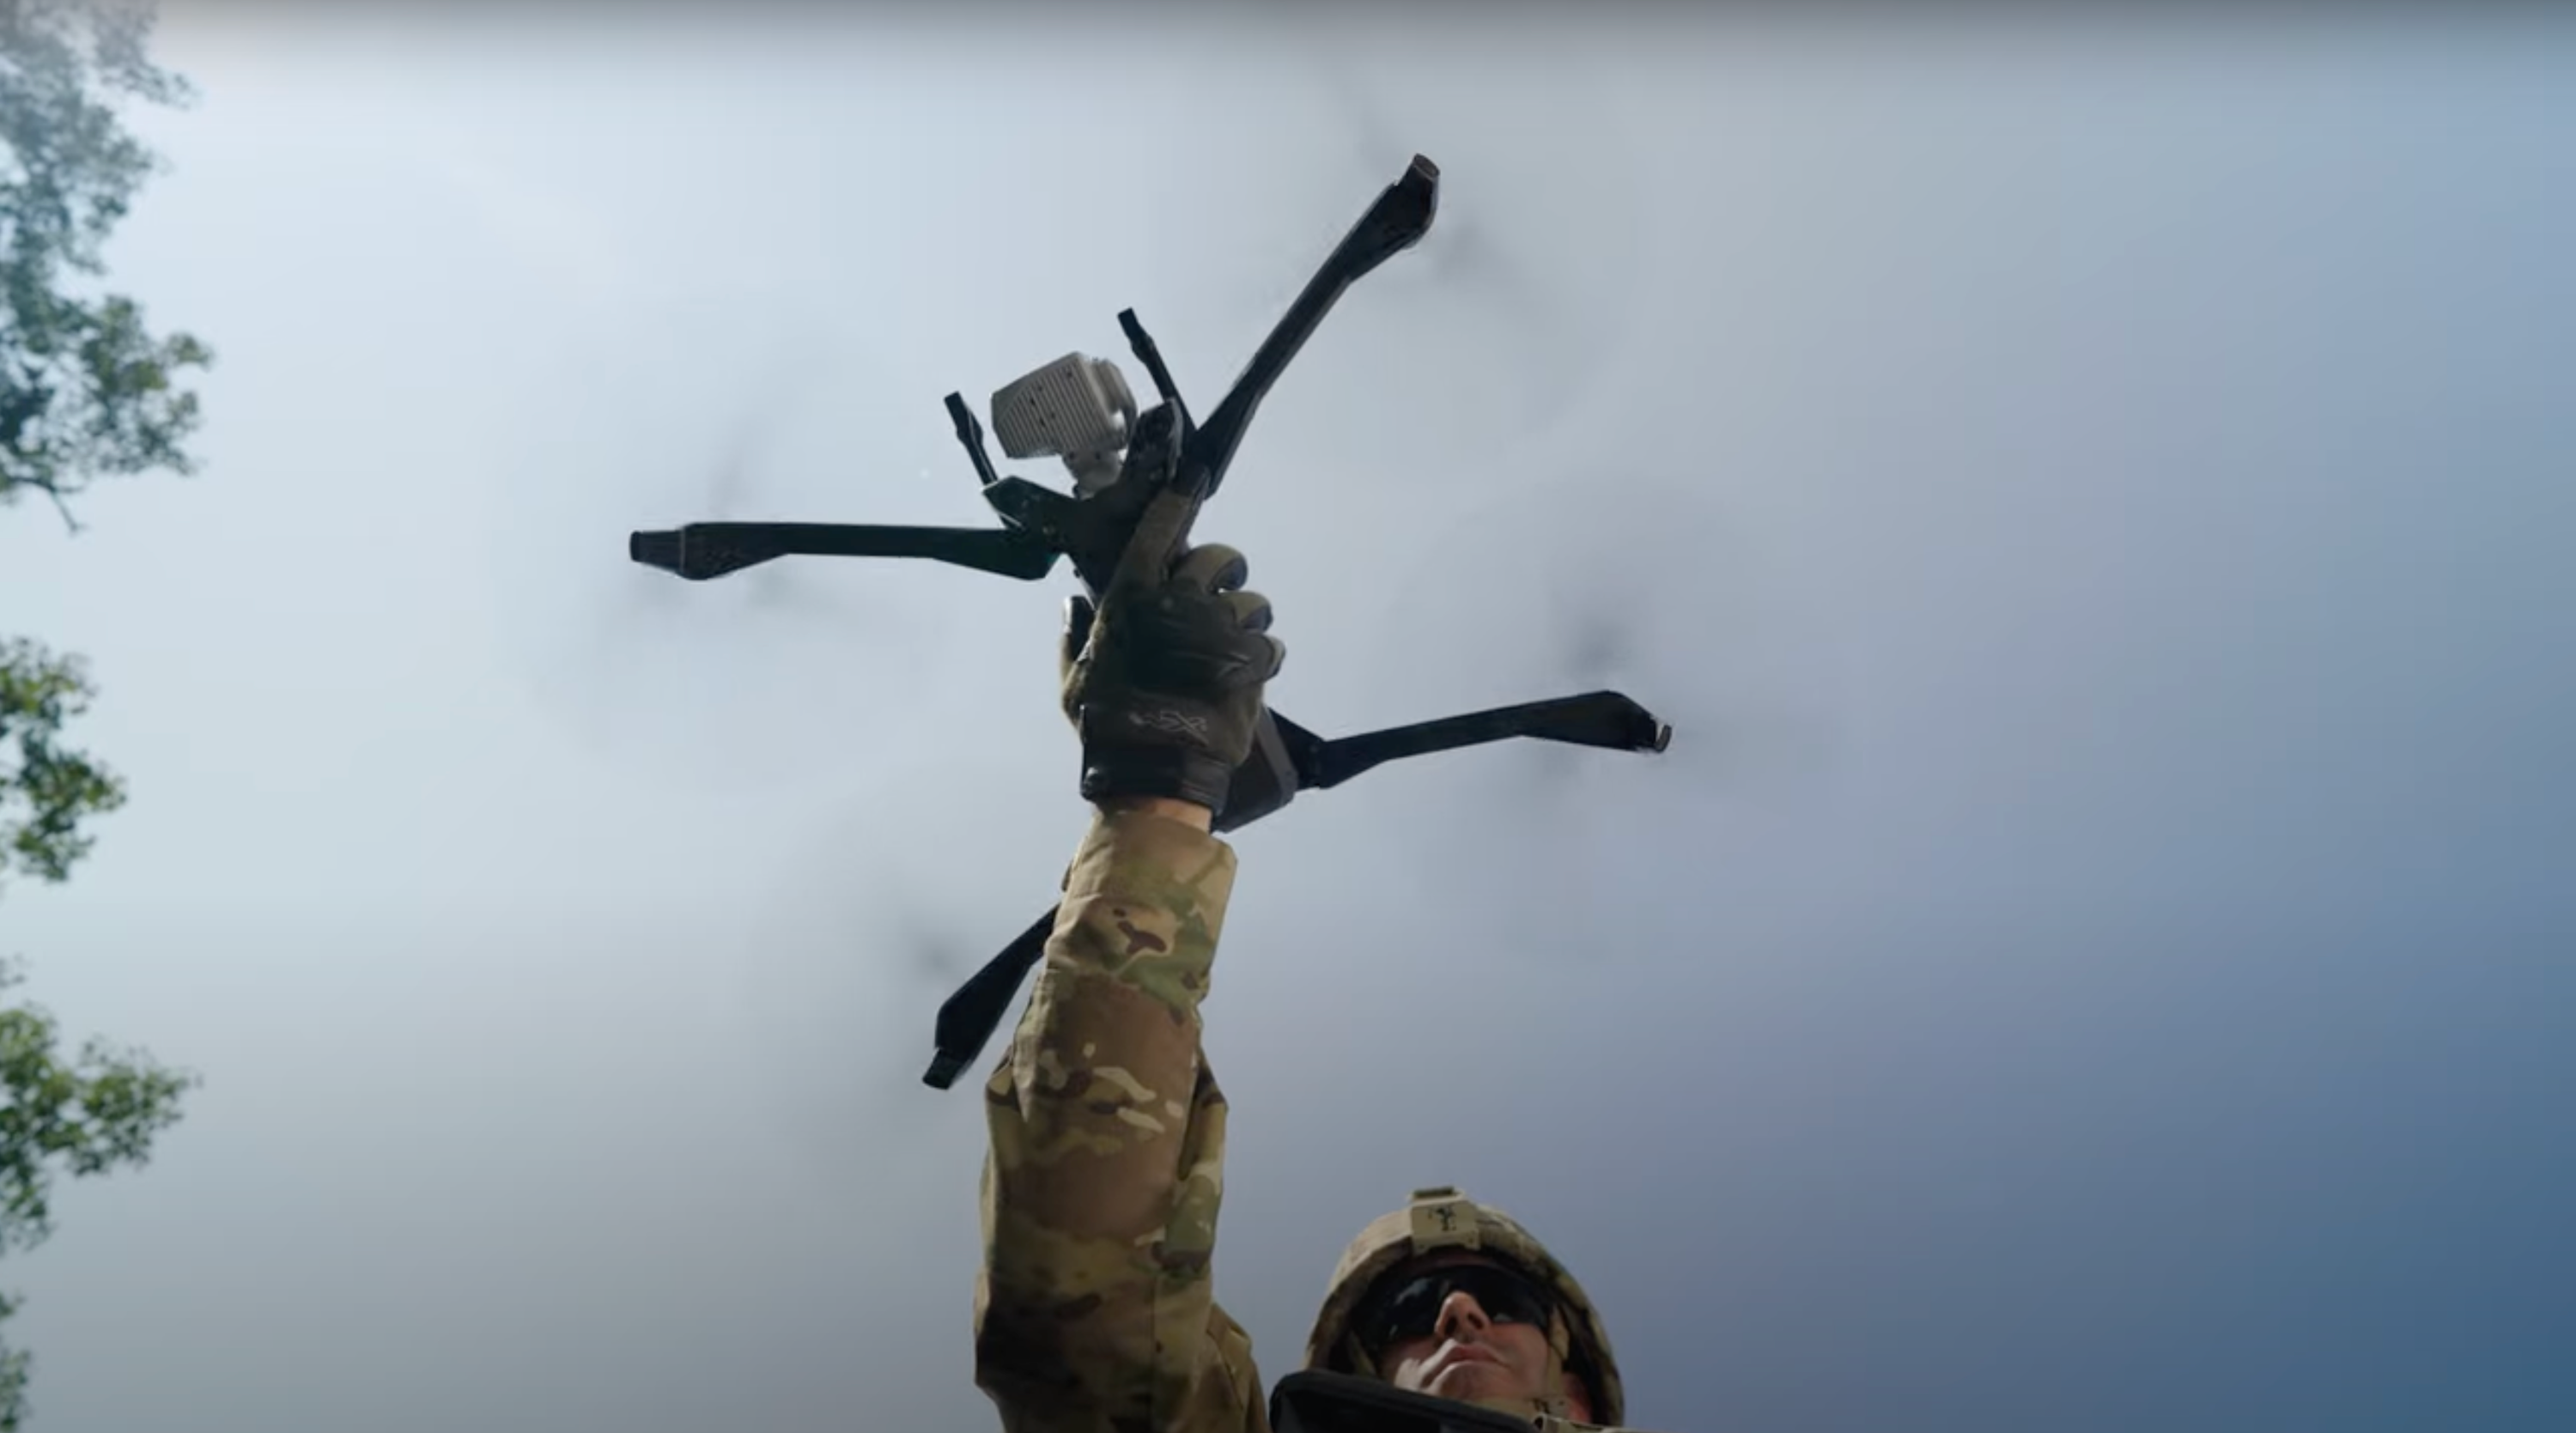
Can an organic drone deliver ISR precise enough for sensor-to-decision actions?

U.S. Air Force Expands X10D EOD Program With Multi-Million Dollar Follow-On Award

Cloud-Coordinated, Collision-Free: Skydio's Approach to Multi-Drone Airspace Management

Strong Business, Bigger Mission, New Capital

Transparency is Fundamental to the Success of Drone As First Responder

Why Drone as First Responder Needs a Fixed-Wing

U.S. Air Forces Central selects Skydio Dock to secure U.S. airbases in the Middle East

Skydio Opens New R&D Office in Zürich, Switzerland
